Accurate timezone configuration is essential for ensuring proper time representation and synchronization across various applications and services on your server. This guide provides step-by-step instructions for changing the timezone on both Linux VPS, Windows VPS and Dedicated Servers.
Linux
-
Connect to your server as root via SSH.
-
Check the current date, time, and timezone using the
datecommand. -
To configure a different timezone, use the
timedatectl set-timezone [new/time_zone]command. -
Available time zones can be found in the
/usr/share/zoneinfo/directory.
-
For example, to set the timezone to Europe/London, execute the command:
root@server1:~# timedatectl set-timezone Europe/London
-
Verify the updated timezone using the
datecommand.
Windows
-
Connect to your server using RDP.
-
Open the Run dialog by pressing
Windows+Ror searching for “run”. -
Execute the following command:
reg add "HKEY_LOCAL_MACHINE\SYSTEM\CurrentControlSet\Control\TimeZoneInformation" /v RealTimeIsUniversal /t REG_QWORD /d 1 /f -
This command creates a DWORD value named “RealTimeIsUniversal” and sets its value to “1”, allowing the timezone of your instance to be different from the host system.
-
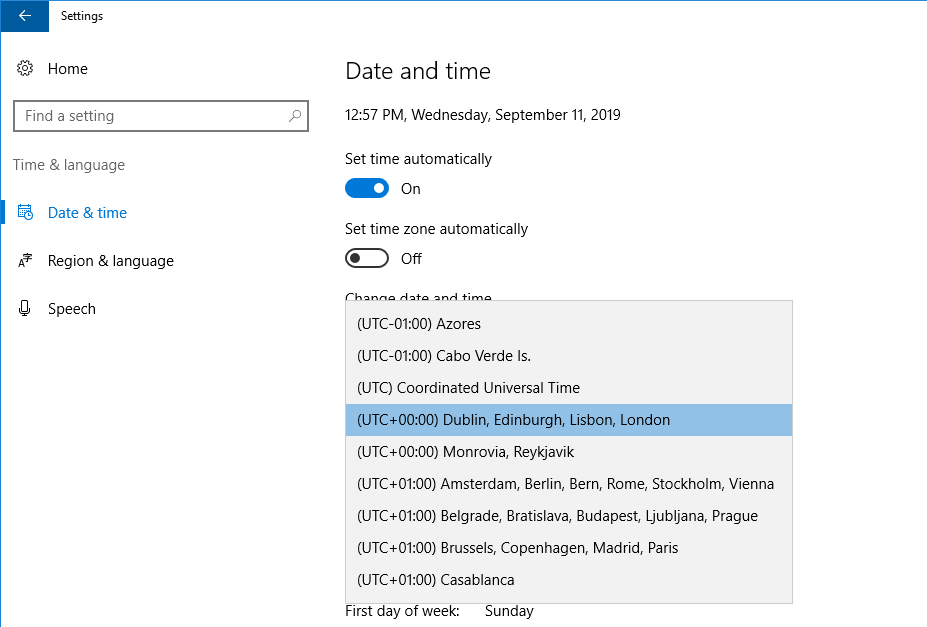
Open Settings and navigate to “Time & Language” -> “Date and Time”.
-
Restart your server for the changes to take effect.
Conclusion
By following these instructions, you can easily change the timezone on your VPS or dedicated server, ensuring accurate time representation and synchronization.


