

Plesk is a powerful web hosting platform that provides a user-friendly interface for managing websites, domains, databases, email accounts, and other essential hosting components. This tutorial will guide you through the basic steps of setting up your Plesk environment, including adding domains, configuring FTP access, creating databases, and setting up email accounts.
Plesk Editions
Plesk is offered in three different editions:
-
Web Admin Edition: This edition is designed for users who only need to manage their own websites. It does not include features such as customer and reseller management.
-
Web Pro Edition: This edition allows you to host up to 30 different domains. It also includes all of the features of the Web Admin Edition, except for reseller management.
-
Web Host Edition: This edition is designed for users who need to host a large number of domains. It includes all of the features of the Web Pro Edition, as well as unlimited domain hosting.
Steps
Logging in to Plesk
-
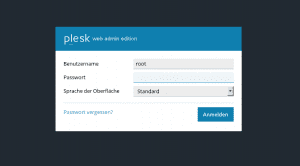
Open a web browser and enter your server’s IP address followed by port 8443 (e.g., https://198.51.100.3:8443).

-
Enter the login credentials you received via email.

-
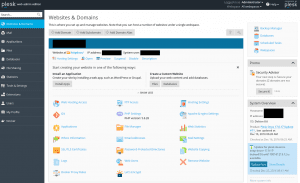
You will be redirected to the Plesk web interface.
Adding a Domain
-
On the Plesk main page, click the “Add Domain” button.

-
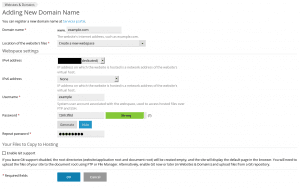
In the “Domain name” field, enter your domain name without the “www” prefix (e.g., example.com).
-
Select “Create a new webspace” as the location for your new website.
-
Choose the appropriate IPv4 or IPv6 addresses for your domain.
-
Set a username and password for the new domain.
-
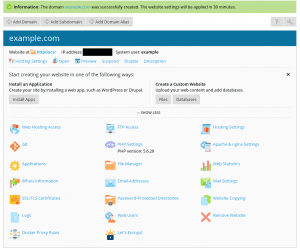
Click “OK” to create the domain.

Uploading Website Content
-
Use an FTP client of your choice (e.g., FileZilla) to connect to your server using the FTP credentials you set for your new domain.
-
Upload the website files to the appropriate directory (usually the public_html directory).
Creating a Database
-
Click the “Databases” icon in the Plesk panel.
-
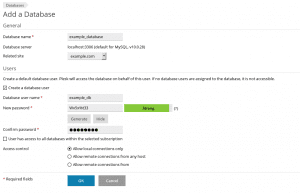
Click the “Add Database” button.

-
Enter a name for your database.
-
Choose the appropriate database type (e.g., MySQL, PostgreSQL).
-
Set a database password.
-
Select “Create” to create the database.
Creating a Database User
-
Click the “Databases” icon in the Plesk panel.
-
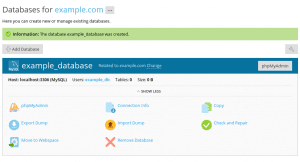
Select the database you just created.
-
Click the “Add Database User” button.
-
Enter a username for the database user.
-
Set a password for the database user.
-
Select the appropriate access privileges for the database user.
-
Click “Create” to create the database user.

Creating an Email Account
-
Click the “Mail” icon in the Plesk panel.
-
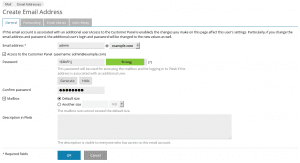
Click the “Create Email Address” button.

-
Enter the email address you want to create.
-
Set a password for the email account.
-
Select the appropriate domain for the email account.
-
Click “OK” to create the email account.
Accessing Your Email Account
-
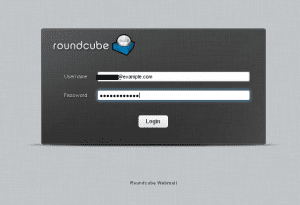
Open a web browser and go to webmail.example.com, replacing “example.com” with your actual domain name.
-
Log in using the email address and password you set for the email account.

Conclusion
These steps provide a basic foundation for managing your Plesk hosting environment. You can further explore Plesk’s extensive features to configure additional aspects of your websites, databases, email accounts, and other hosting components.
