Migrating a website to a new server can be a daunting task, involving potential downtime, data loss, and compatibility issues. Fortunately, Plesk, a popular web hosting control panel, provides two powerful tools, Plesk Migrator and Site Importer, to streamline the migration process and minimize associated risks.
Plesk Migrator
Plesk provides a tool called Plesk Migrator to facilitate website migrations from various server environments, including Plesk servers with outdated operating systems or end-of-life Plesk versions, cPanel servers, Confixx servers, Helm servers, and DirectAdmin servers.
Installing and Accessing Plesk Migrator
-
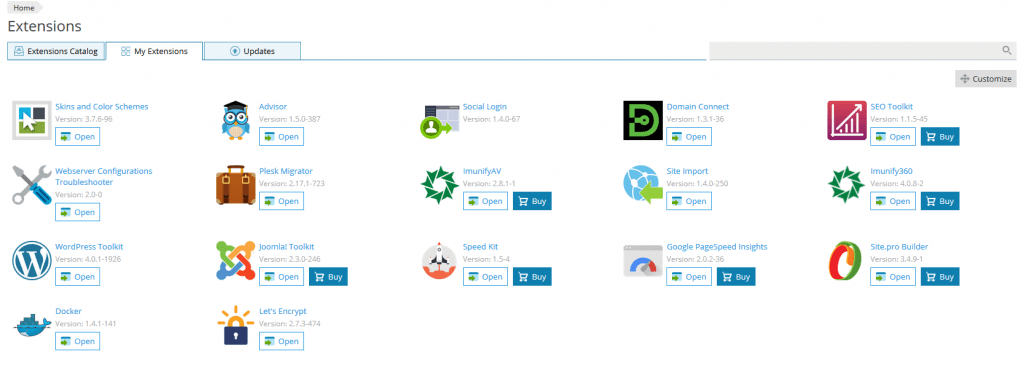
Install the Plesk Migrator extension. To do this, navigate to the “Extensions” section in Plesk, search for “Plesk Migrator,” and proceed with the installation.

-
Once installed, access the Plesk Migrator by clicking on the “My Extensions” tab and selecting “Plesk Migrator.“

Initiating the Migration
-
Click on the “Start new Migration” button.
-
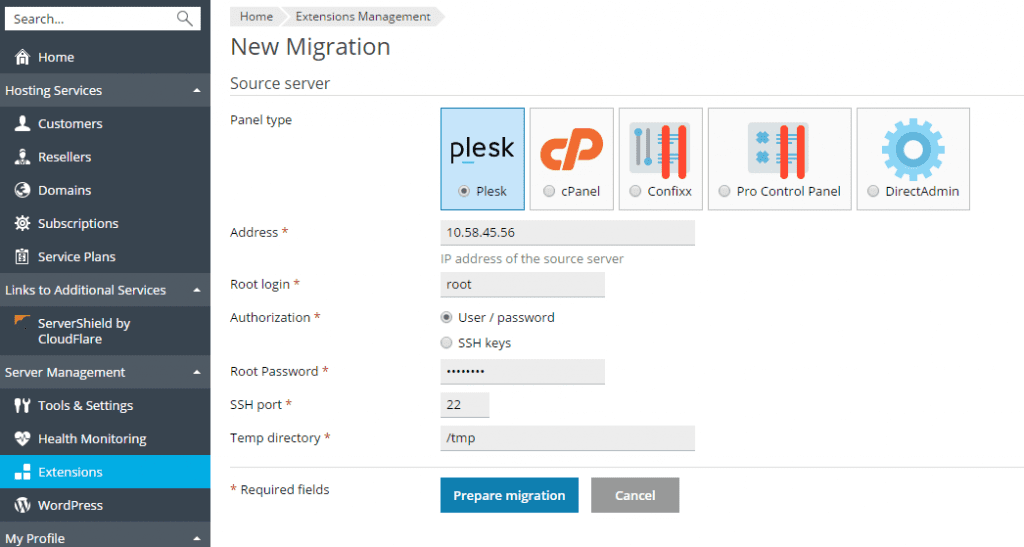
Select the panel type of the source server from which you want to transfer the data.
-
Provide the login credentials for the source server. You can use either password authentication or SSH key authentication.
Plesk-to-Plesk Migration
-
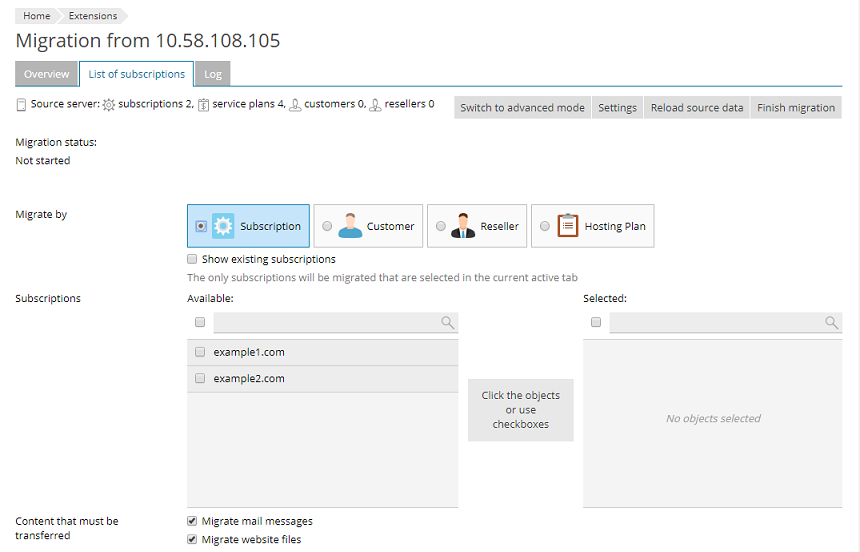
If you are migrating from a Plesk server to another Plesk server, you will see a list of transferable items, including subscriptions, customers, resellers, and hosting plans.

-
You can choose to migrate the customers of a reseller or assign them to a new reseller.
-
After selecting the items you want to migrate, click on the “Migrate” button.
-
Apache modules and PHP versions will be checked for compatibility. If there are no issues or if you choose to ignore any warnings, the migration will begin. You can monitor the migration progress in real time.
Site Importer
If you have an existing website and want to migrate it with minimal effort, Plesk offers a tool called Site Importer. This extension is particularly useful for scenarios such as starting new with Plesk, managing a website using a different panel like cPanel or DirectAdmin, or using a server with a LAMP installation.
Installing and Accessing Site Importer
-
Install the Site Importer extension. Navigate to the “Extensions” section in Plesk, search for “Site Importer,” and proceed with the installation.
-
Access the Site Importer in two ways:
-
As a server administrator, go to “Extensions” > “My Extensions” and select “Site Importer.“
-
For a specific subscription, click on the subscription, select “Website Importing,” and proceed with the import process.
-
Importing the Website
-
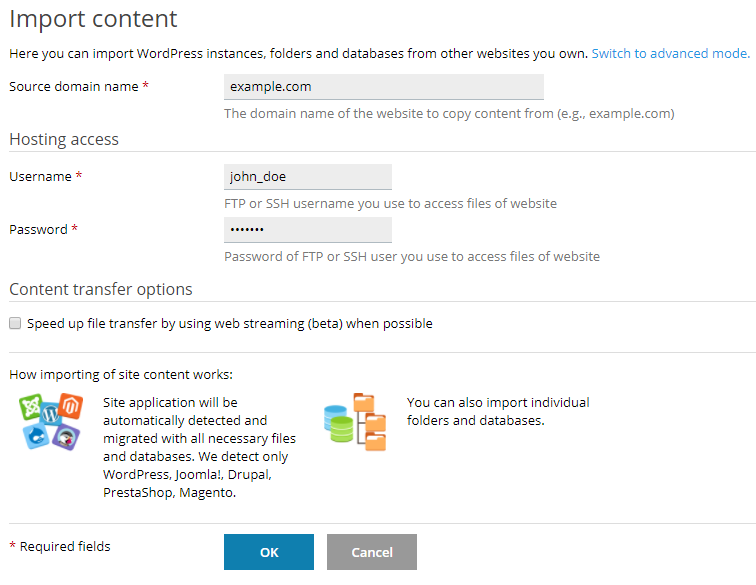
Provide the login credentials for the source server using either SSH or FTP.

-
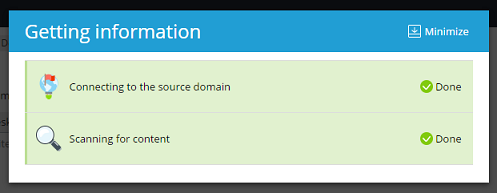
Once the connection is established, the necessary information will be gathered from the source server.

-
If the file structure cannot be detected automatically, you can manually specify the location of the home directory.
-
Website software like WordPress, Joomla, Drupal, and PrestaShop will be recognized automatically, simplifying the import process.
Importing Email Accounts
-
To import email accounts, navigate to “Mail Importing” within the subscription.
-
Click on “Import mail messages” and provide the login credentials for the source server.
-
If the email server cannot be detected automatically, enter the necessary details under “Show advanced options.“
-
Click on “OK” to initiate the email import process.
Conclusion
While website migrations can be challenging, Plesk provides tools like Plesk Migrator and Site Importer to simplify the process and minimize potential risks. However, it’s crucial to have a detailed and well-thought-out plan before starting the migration process.

