Using WinSCP is a free, open-source SFTP (SSH File Transfer Protocol), FTP (File Transfer Protocol), and WebDAV client for Windows. It allows users to securely transfer files between their local computer and a remote server.
Downloading and Installing WinSCP
- Download WinSCP from the official website: https://winscp.net/eng/download.php#download2
Choosing a File Protocol
The choice of file protocol depends on your specific needs. Here is a summary of the advantages and disadvantages of each protocol:
SFTP (SSH File Transfer Protocol)
- Advantages: Encrypted connection established via the SSH port, eliminating the need for an FTP server.
- Disadvantages: Slower data transmission due to encryption.
FTP (File Transfer Protocol)
- Advantages: Faster data transmission compared to SFTP due to the absence of encryption.
- Disadvantages: Unencrypted connection requiring an FTP server installation.
SCP (Secure Copy)
- Advantages: Encrypted connection like SFTP, using the SSH port.
- Disadvantages: Slower data transmission due to encryption.
WebDAV (Web-based Distributed Authoring and Versioning)
- Advantages: Connection established over the HTTP port, which is typically not blocked by firewalls.
- Disadvantages: Unencrypted connection, but encryption can be achieved using SSL.
Connection Parameters
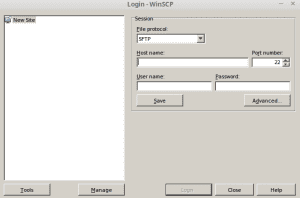
Host Name: Either the IP address of your server or the domain name corresponding to the IP address.
Port Number: Depends on the chosen file protocol. Standard ports are listed below:
- Standard SFTP Port: 22
- Standard FTP Port: 20 and 21
- Standard SCP Port: 22
- Standard WebDAV Port: 80
Note: SFTP and FTP use the default SSH port number 22. If this port has been changed, use the configured custom port number to connect.
User Name: The user with permission to connect to your server. For example, “root”.
Caution: The “root” user has full permissions on the server. Altering or deleting critical system data may render the operating system unbootable.
Establishing a Connection
To establish a connection with your server using WinSCP, follow these steps:
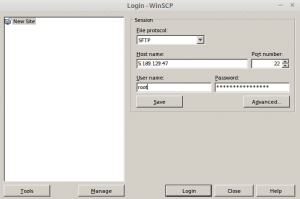
- Enter the host name (IP address or domain name) of your server.

- Enter the port number for the selected file protocol.
- Enter the user name for the account that has permissions to connect to your server.
- Enter the password for the user account.
- Click the “Login” button.

-
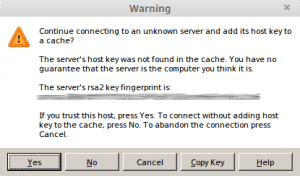
Accept the security warning.

-
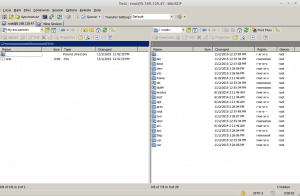
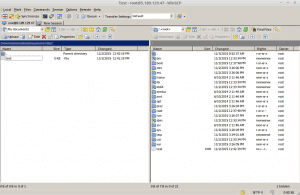
Once the security warning is accepted, you will be successfully connected to your server via the SFTP file protocol.

-
The left-hand side of the window displays your local computer, while the right-hand side displays your remotely connected server.
Transferring Files
To transfer a single file or a folder, simply drag and drop it from your local computer (left-hand side) to your server (right-hand side). This copies the file to the server, making it available on both the local computer and the remote server.
Connecting with an SSH Key
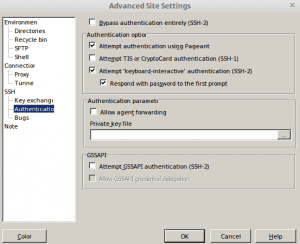
If you want to connect to your server using an SSH key, follow these steps:
- Click the “Advanced…” button.

- Go to the “Authentication” menu point.
- Specify your private key file.
- Click the “OK” button.
Closing the Connection
To close the connection to your server, click the “Close” button in the WinSCP window.
Conclusion
WinSCP is a powerful and versatile tool for transferring data between computers. It supports multiple file protocols, is easy to use, and offers secure connections.

